kitchen tile

Blue Travertine Kitchen Floor Tiles Renovated in Sandwich Kent

Blue Travertine Tiled Kitchen Floor Renovated in Sandwich

This client from Sandwich had a Blue Travertine floor in their kitchen which is not as common as its ‘Yellow’ cousin but certainly more interesting to look it. It does however have the same maintenance requirements and unless the sealer is maintained will trap dirt. This happens very gradually over many years until one day you look down at the floor and think, ‘How did that happen?!’

Blue Travertine Kitchen Floor Tiles Before Cleaning Sandwich

I visited the property to conduct a free survey of the floor and assured the client that the appearance of their unique Blue Travertine floor could be restored with a deep clean, polish and fresh sealer. I explained the renovation plan and the costs involved which they were happy to accept and a date agreed for the work to start.

Cleaning a Travertine Tiled Kitchen and Utility Floor

On day 1 work started with cleaning the grout lines using Tile Doctor Pro-Clean which is a strong industrial strength alkaline cleaner. Its applied to the grout lines, left to soak in for a while and then scrubbed in using a stiff brush by hand. This process lifts the dirt from the grout line into the solution and then extracted from the surface using a wet vacuum.

Next, a 400-grit diamond burnishing pad was applied to the stone floor with using water for lubrication. This is the first step in the honing and polishing process that will remove the ingrained dirt and restore the polished appearance of the Travertine. This was followed by the 800 and then 1500 grit burnishing pads, slowly cleaning and re-building the polish. In between each pad the soiling was extracted with the wet vacuum.

Blue Travertine Kitchen Floor Tiles During Cleaning Sandwich

Once done, it was as far as we could do for the day and we left, allowing the tiles to dry overnight.

Sealing a Travertine Tiled Kitchen and Utility Floor

Returning the next morning work began by checking the moisture readings of the floor using a damp meter. The readings were good and it confirmed the floor was dry and ready for sealing. This check is really important as applying a sealer to a damp floor would impact its ability to cure and result in it looking patchy.

Before applying the sealer, I ran a very fine 3000-grit burnishing pad over the floor to further bring up its polished appearance. This is applied with a small amount of water sprayed onto the tile using a process know as a Spray Burnish. This really finishes off the honing process and by now the floor had a good sheen to it.

The sealer of choice was Tile Doctor’s Ultra Seal a natural look, impregnator that soaks into the pores of the tile protecting it from with and without altering the natural appearance of the honed stone. Two coats were applied and a final buff with a White pad left the kitchen floor looking like you could eat your dinner off it!

Blue Travertine Kitchen Floor Tiles After Renovation Sandwich

My client was very happy with their difference I had made to the Blue Travertine tiles which really looked like they had just been installed.

Lovely guy that came out, arrive in time and kept me informed of progress of the job.do not hesitate to use Tile Doctor.

Before leaving I took time to discuss aftercare cleaning which for a polished stone floor like this, I recommend the use of Tile Doctor Stone Soap which is a gentle cleaning product that won’t impact the sealer and will maintain the patina.


Professional Restoration of a Blue Travertine Tiled Kitchen Floor in Kent

Blue Travertine Tiled Kitchen Floor Renovated in Sandwich Read More »

Gruby Porcelain Kitchen Floor Deep Cleaned Eynsford Sevenoaks

Dirty Porcelain Floor Tile and Grout Deep Cleaned in Eynsford

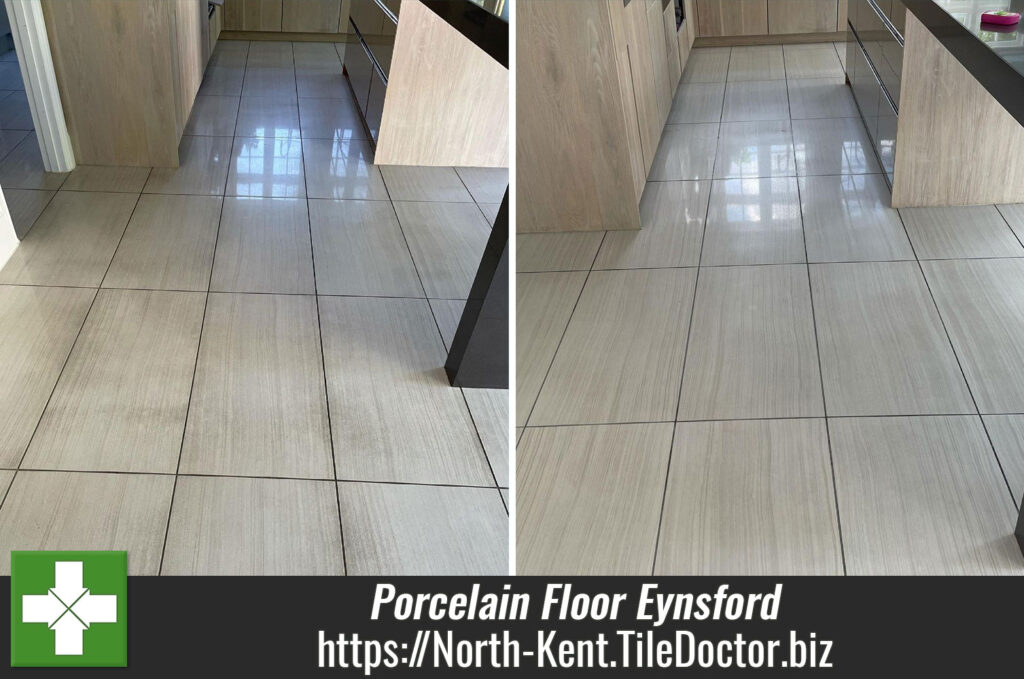
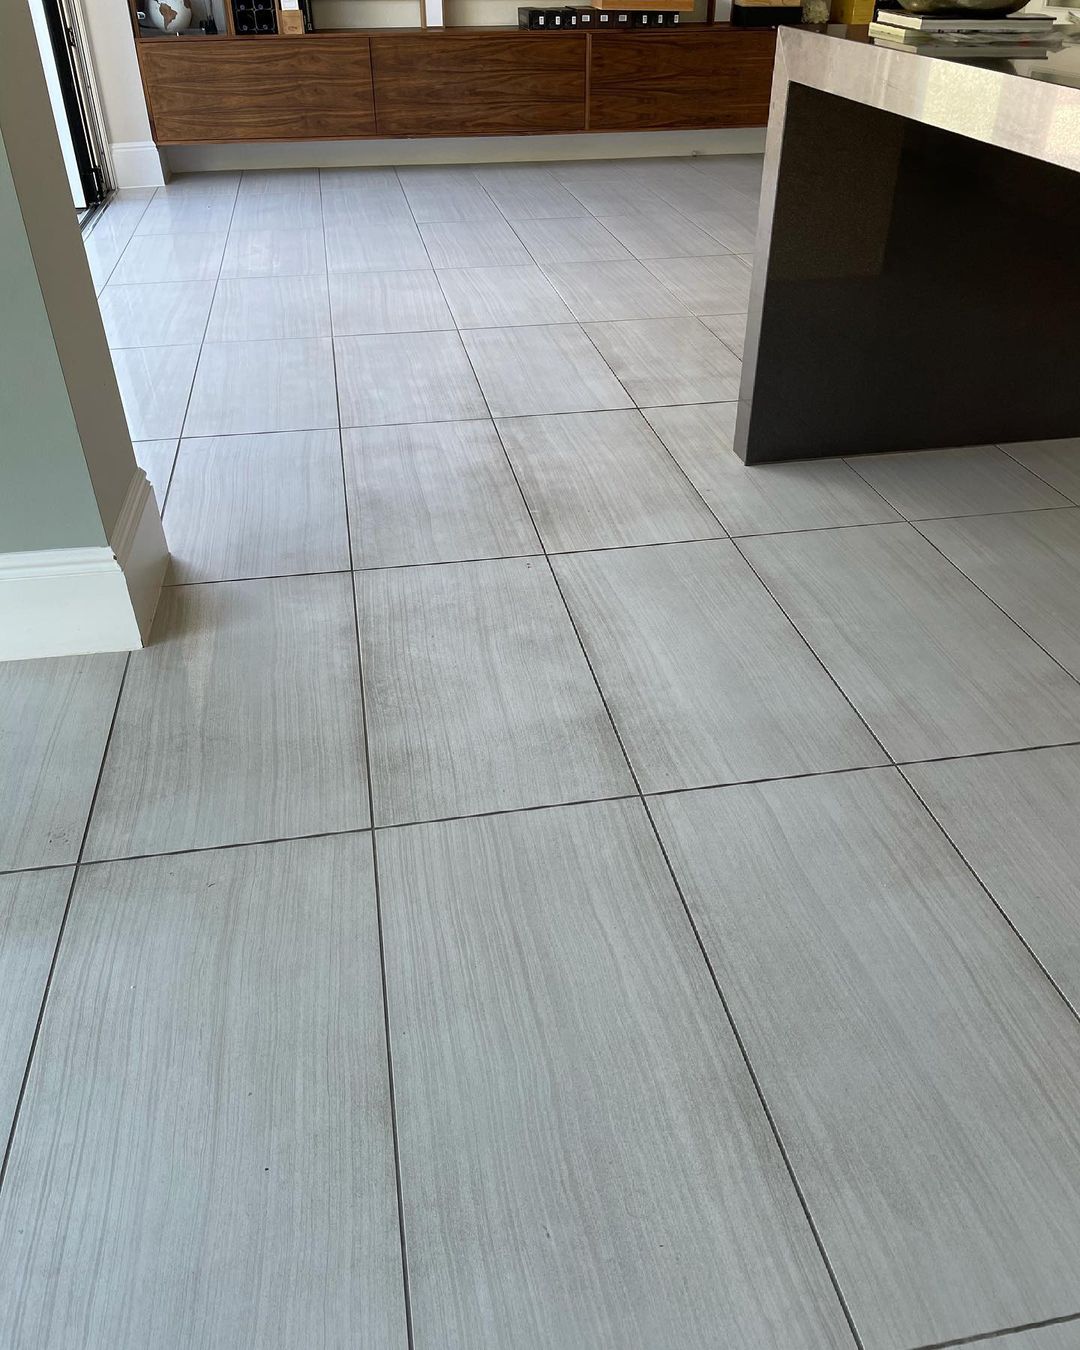
The picture below shows a grubby Porcelain tiled floor at a property in Eynsford just North of Sevenoaks. Installed throughout much of the ground floor including the kitchen, lounge, and dining room the porcelain tile and grout was in a very dirty state and the client was desperate to get them clean.

Porcelain Tile and Grout Before Cleaning Eynsford

The floor had trapped dirt in the high traffic areas and the grubby appearance was bringing down the appearance of the area which was a shame as the kitchen was lovely. The client had tried all the usual household cleaners she could find, and nothing seemed to work so we were asked to call round.

I visited the property to survey the floor and was able to reassure the client that although the tile and grout was stained with dirt that it could be rectified. I was confident we would soon be able to get the floor looking great again and demonstrated the process I would use on a small part of the floor. The demonstration went well and happy with the result we agreed on a date for my return to complete the work.

Deep Cleaning a Porcelain Tile Floor

To deep clean the Porcelain tile and grout a strong dilution of Tile Doctor Pro-Clean (3 parts cleaner to 5 parts water) was sprayed onto the floor and then left to soak in for a good twenty minutes. This delay allows the Pro-Clean to get to reach into the pores of the tile and grout where it can break down the dirt.

Then using a rotary floor machine fitted with a black scrubbing pad the solution was scrubbed into the tile lifting out the dirt and turning the cleaning solution black in the process. Tile Doctor Pro-Clean is a concentrated, multi-purpose high-alkaline cleaner which is designed for deep cleaning tiles, stone and grout of dirt and grease and can also remove sealers. Exactly what was needed on this floor.

Pads can struggle to reach into the recesses of the grout line so once I was finished with the tiles, I hand scrubbed the grout with a wire brush. This is harder work, but the results justify the effort. The floor was then rinsed with water and the resultant soil was extracted off the floor with a wet vacuum. The tile and grout looked instantly better, and I knew the client would be pleased with the result.

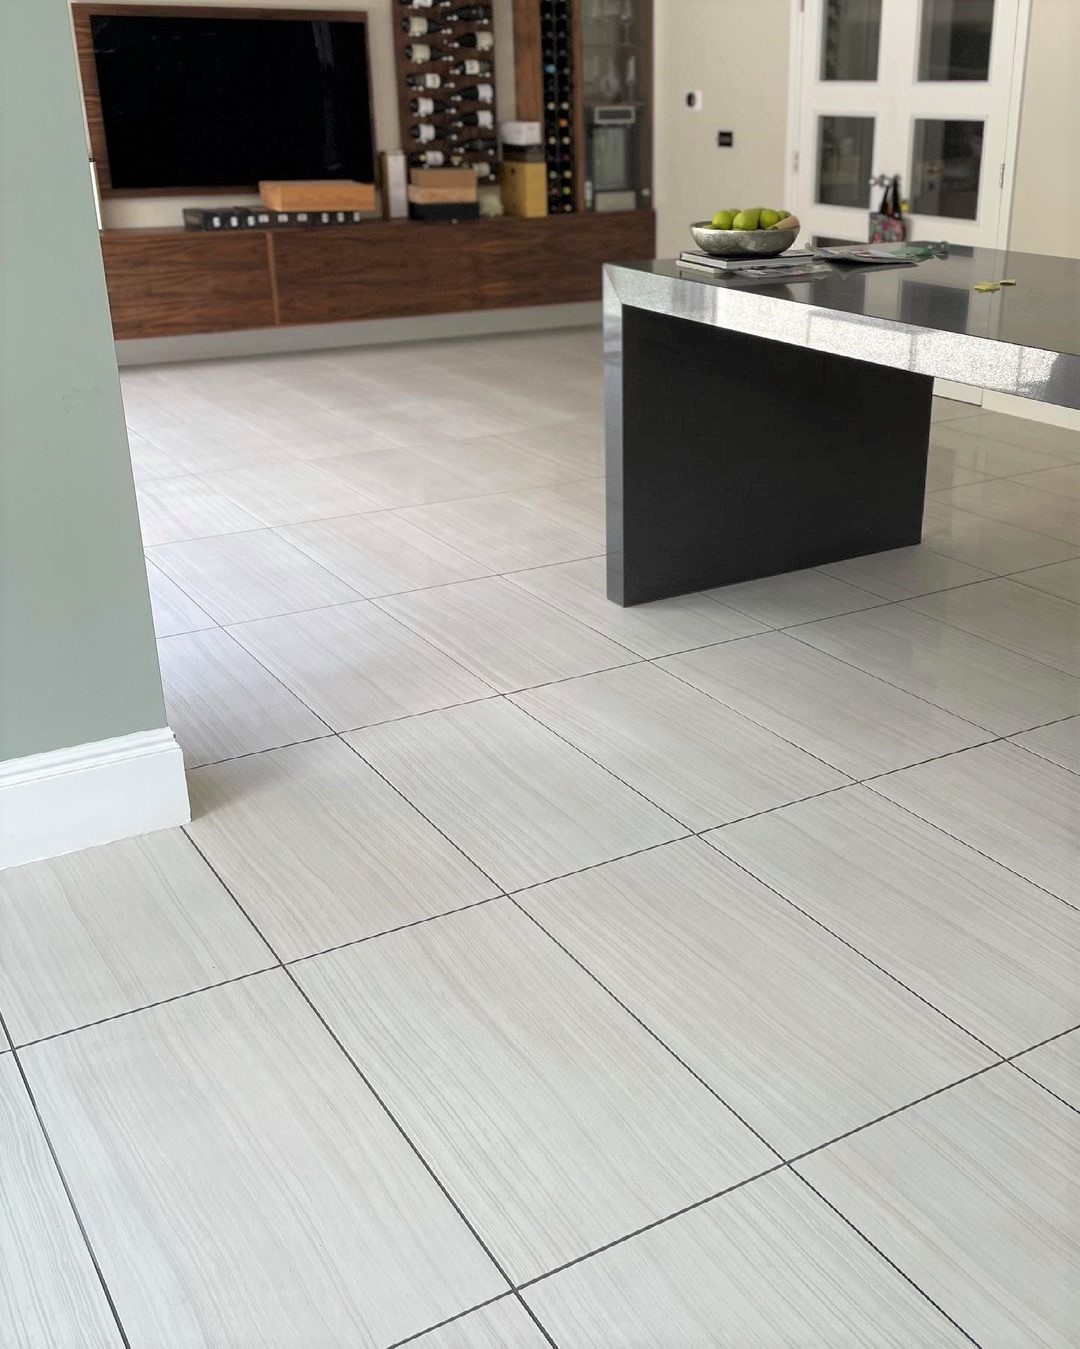
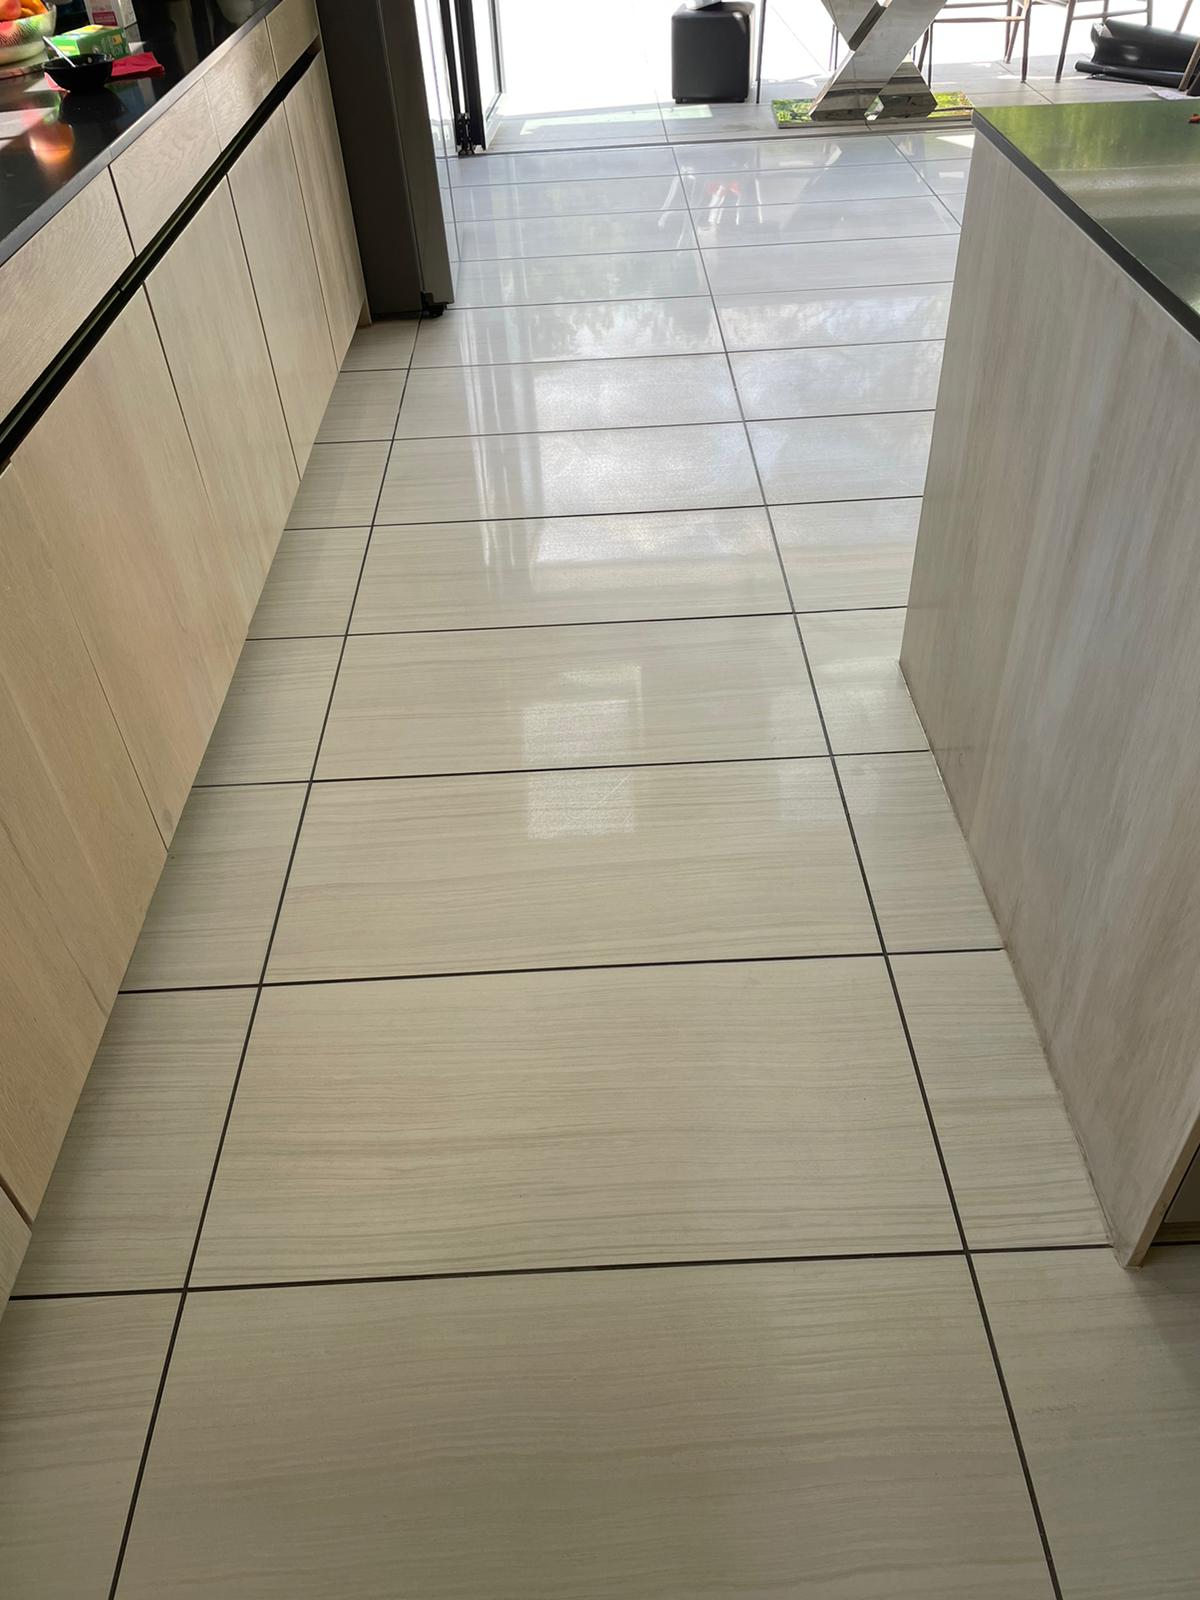
Porcelain Tile and Grout After Cleaning Eynsford

Most Porcelain floor tiles are sealed in the factory when they are manufactured, so there was no need to apply a sealer in this case. I did however recommend the use of Tile Doctor Neutral Tile Cleaner for maintenance cleaning, it’s concentrated a small amount goes a long way, and it has a nice fresh fragrance. This will ensure the floor is kept in good condition moving forward.

As you can imagine my client was relieved to have the floor looking as good as new again!

Porcelain Tile and Grout After Cleaning Eynsford


Professional Restoration of a Porcelain Tiled Floor in North Kent

Dirty Porcelain Floor Tile and Grout Deep Cleaned in Eynsford Read More »

Bathroom and Kitchen Tile Refresh in Greenhithe, Kent

Bathroom and Kitchen Tile Refresh in Greenhithe, Kent

This customer from Greenhithe, Kent contacted Tile Doctor to have the tiles in her bathroom refreshed; the tiles which were looking tired and poor ventilation had caused her grouting to go black. This is not uncommon in the UK due to the inclement weather and tighter building regulations designed to promote draught proofing and insulation leaving moisture trapped in the house.

Bathroom Tile and Grout Cleaning

I first started off by cleaning all the tiles down with a weak solution of Tile Doctor Pro-Clean which is a multi-purpose cleaning product; there wasn’t a large amount of grime on the tiles and just general wear and tear on the floor with Limescale and water marks on the wall tiles. I then set about cleaning up the blackened grout with a steam cleaner followed by Tile Doctor Grout Colourant Pre-Treat cleaner, an acid based cleaner that etches the grout in order for it to accept the grout colourant. After cleaning and etching the grout joints they were rinsed down with plenty of water to remove any trace of chemical and then dried them out to receive the grout colourant.

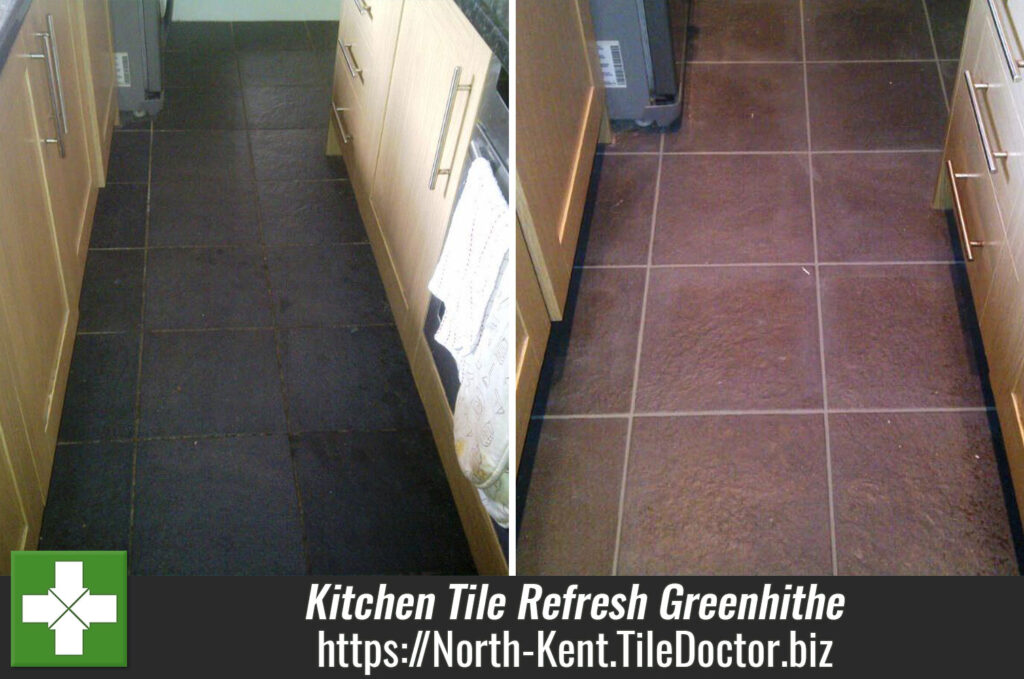
Bath Tile Before Cleaning Kitchen Tile Before Cleaning

Removing Grout Haze from Quarry Tiles

The grouting to the wall tiling in the bathroom was white, and the customer wanted it looking the same only fresher, so white grout colourant was applied. The grouting to the kitchen floor was originally a sand colour, but the customer wanted something more contrasting this time, so natural grey was used. Once the grout colourant was applied, it was allowed to set for 30mins before the edges were cleaned up. I finished by renewing the mastic sealant around the edges of the bath.

Bath Tile After Cleaning Kitchen Tile After Cleaning

The job took a day and as you can see from the photographs made a huge difference to the bathroom and kitchen, needless to say the customer was really happy with the end result.


Bathroom and Kitchen Tile and Grout Refresh

Bathroom and Kitchen Tile Refresh in Greenhithe, Kent Read More »

Scroll to Top