Old York Stone Floor Resurfaced and Restored in Sevenoaks Weald
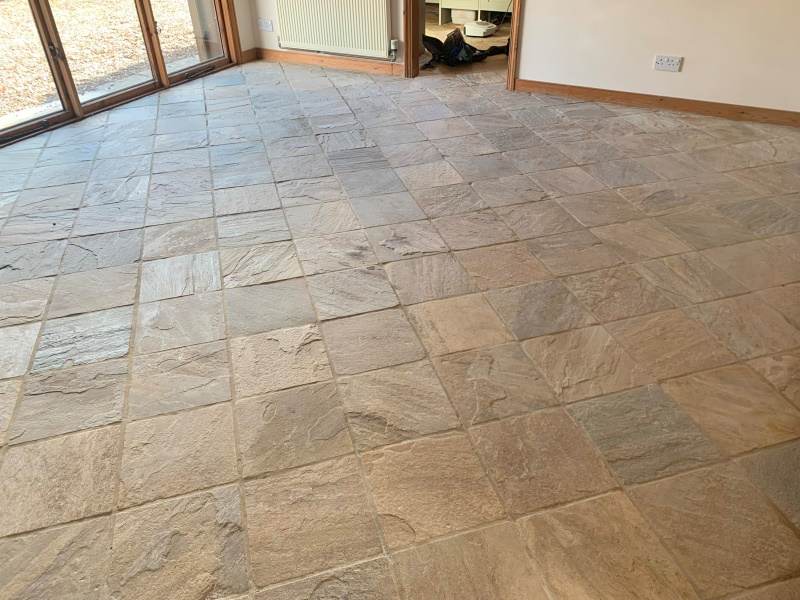
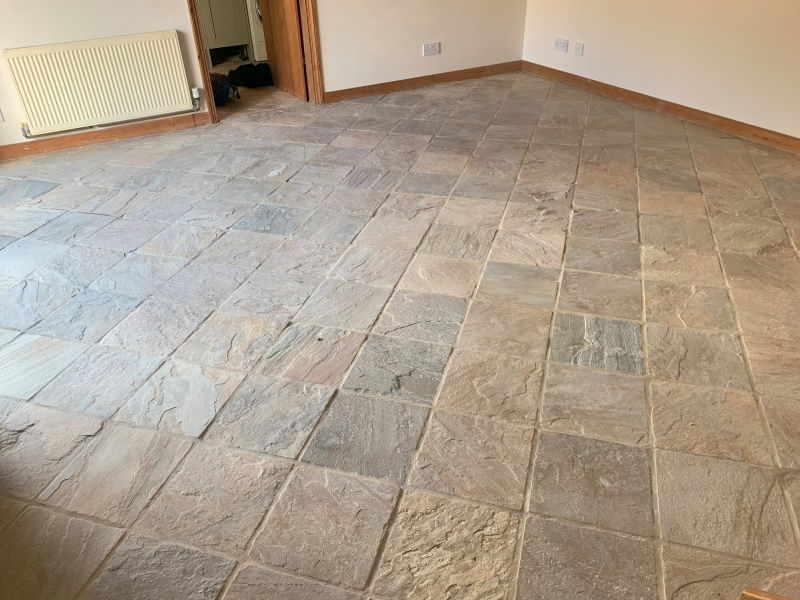
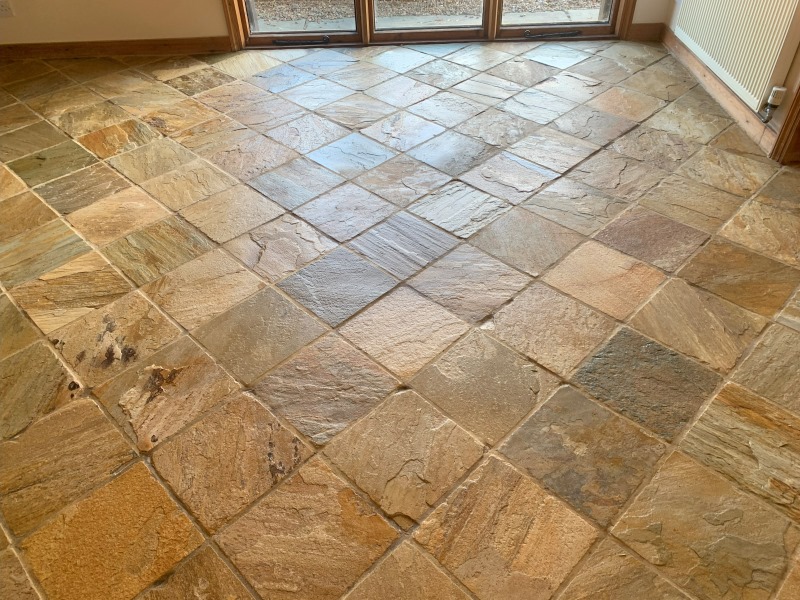
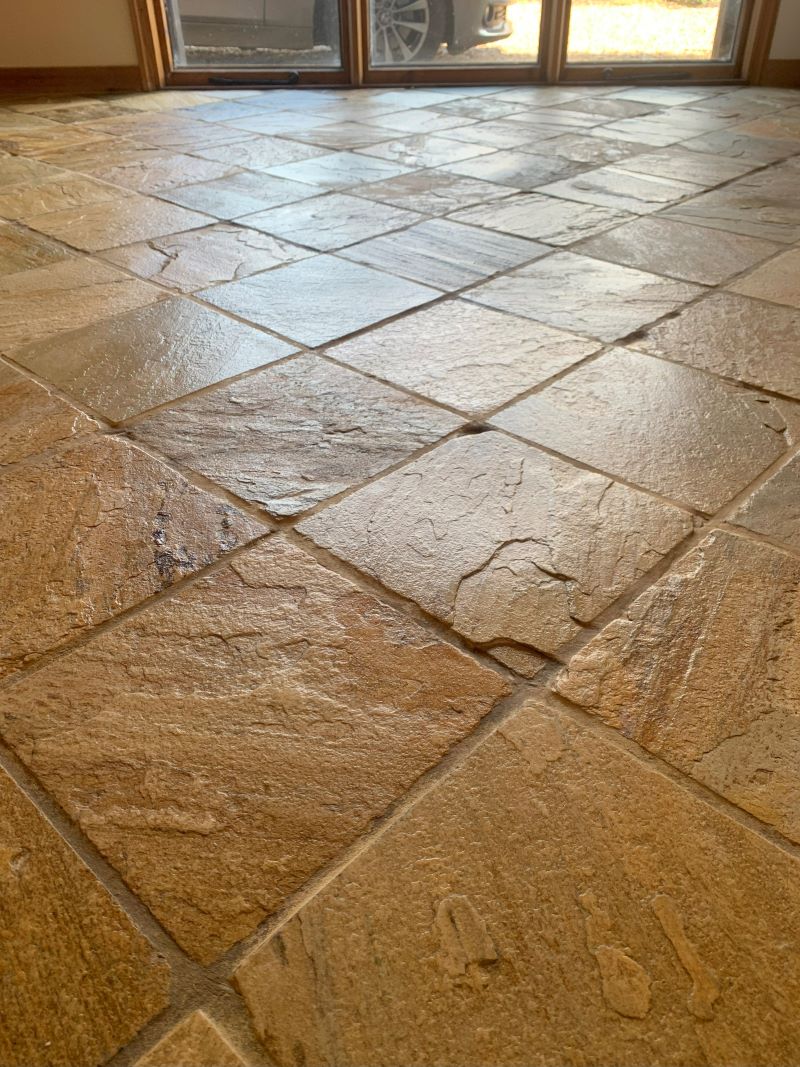
I was asked to give my opinion on restoring a York Sandstone floor at an old house in Sevenoaks Weald. The flagstones were in a bad state, heavily pitted with dirt ground into the stone from hundreds of years of use. The Sandstone flooring spanned across the ground floor, from the porch, a narrow passageway, to a raised dining room and kitchen.

I called round to discuss the floor and what could be done to restore its appearance. During the conversation the owner expressed a preference to having the very rough riven nature of the floor reduced and wanted to know the options. Rough stone traps dirt easily and is more difficult to keep clean so I could sympathise with the situation.
I explained that the best course of action would be to mill the stone. Milling is a process championed by Tile Doctor which utilises very coarse diamond pads to remove a thin layer of stone from the surface and then finer grit pads to refine the appearance of the new surface making it smooth and easy to maintain in the process.
 |
 |
I measured up the combined floor space and put together a quotation that included all the products and labour needed to transform the floor, a process which should take three days.
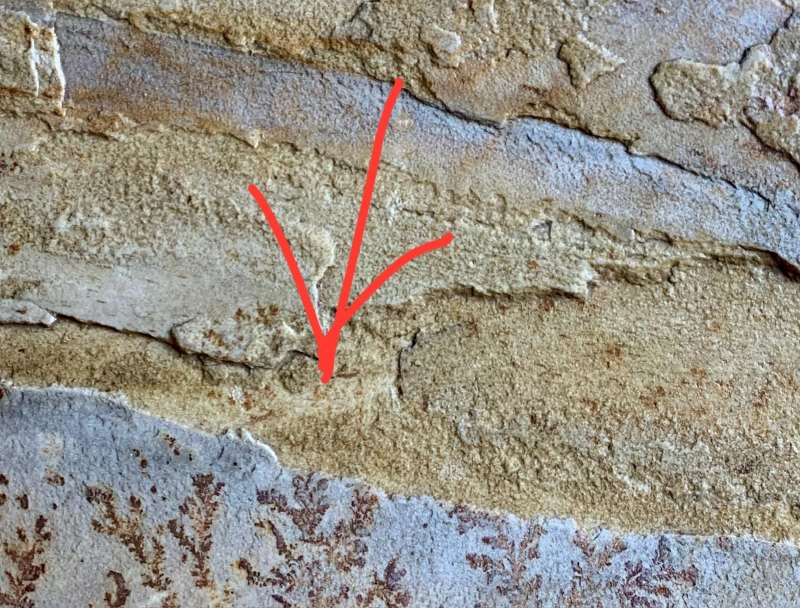
With the quotation accepted and the products ordered and delivered, I arrived on the agreed date to begin work and started by securing a loose flagstone with a rapid set adhesive.
Cleaning a York Sandstone Tiled Ground Floor
The milling started with the application of very coarse 50-grit diamond Flexi-Pads fitted to a heavy-duty floor buffer with added weight to ensure maximum traction with the stone. Using only water for lubrication these pads do the bulk of the work and remove a fine and often contaminated layer from the surface of the stone to reveal new stone underneath.

This is the slowest part of the job with each flagstone requiring five to ten minutes of milling before moving onto the next. A lot of water was used in this process which mixes with the cut stone to form a slurry which is then vacuumed away. It took a full day to cover all the floors, and I got through three of the 50-grit pads in the process.
On my return the following day, I could see the floor had dried and the slabs now looked quite pale and ‘washed out’, which was to be expected at this early stage.
The process from here ran significantly quicker. A finer 100-grit flexi pad was applied next, followed by 200-grit flexi pad, a 200-grit soft diamond pad and finally a 400-grit soft diamond pad. Less and less slurry was produced as I worked through each of the finer grit pads. Again, using water for lubrication and removing the slurry with a wet vacuum as work progressed.
The floor was then mopped through twice to remove any residual dried slurry and then left to settle and fully dry out.
Sealing a York Sandstone Flagstone Floor
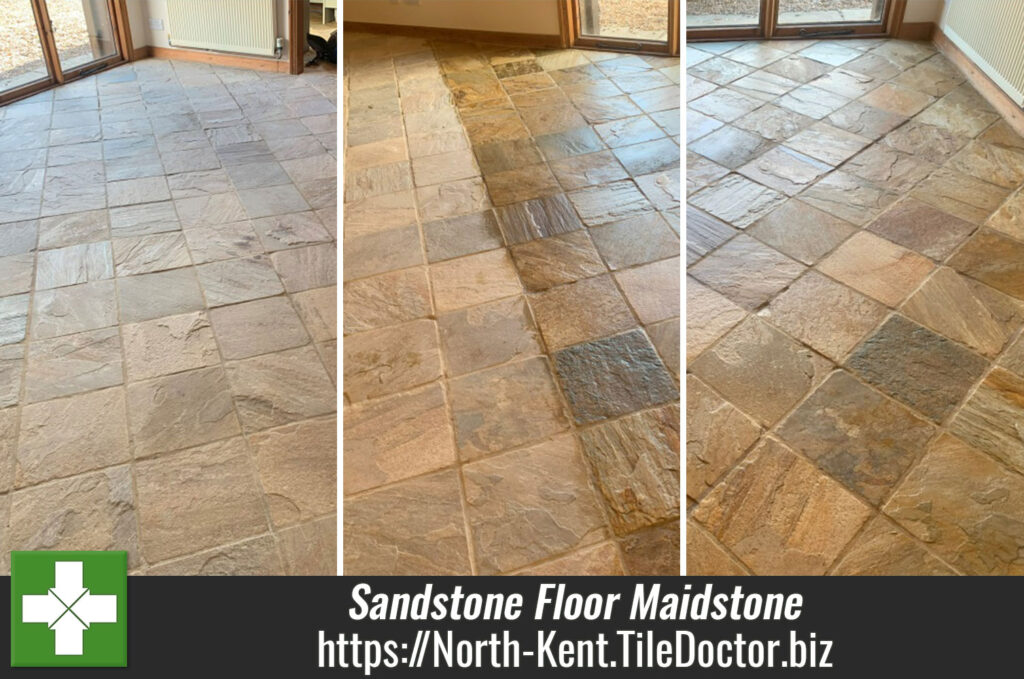
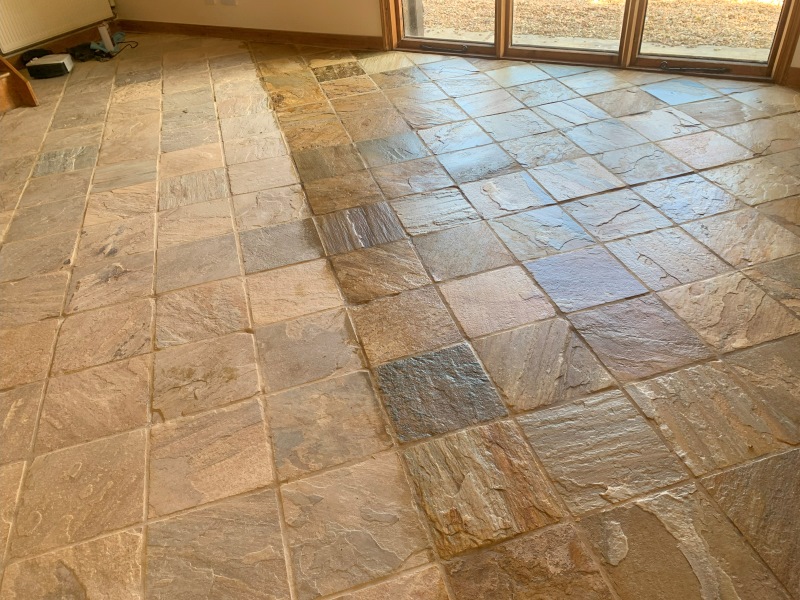
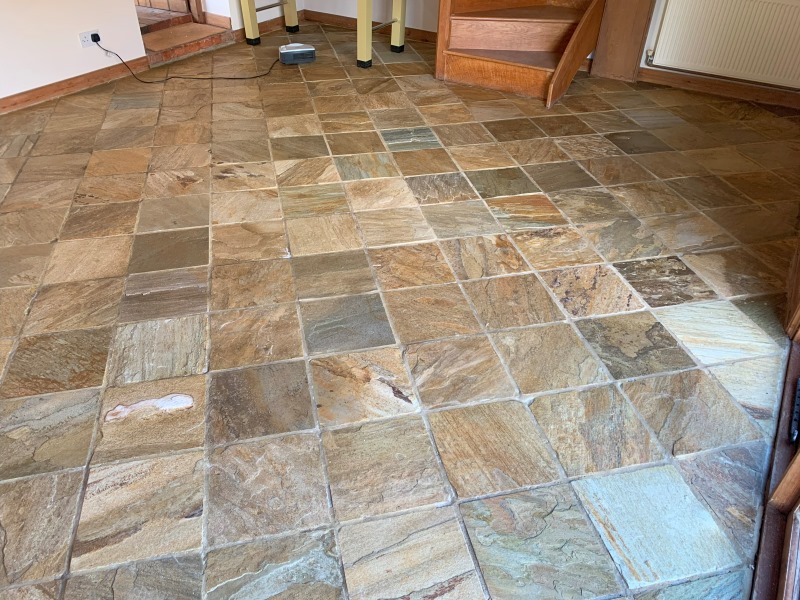
Two days later, I returned to inspect the floor. Lovely pastel greens, browns and grey colours were now evident in the flagstone along with the natural patterns and veins which gave the floor so much more character than it had before. Most of our sealers come with a colour intensifier. However, I strongly felt that the floor looked amazing as it was which was readily agreed by the owner. So, Tile Doctor’s Ultra Seal was opted for. This is a natural look, impregnating sealer which protects the floor without changing its appearance.

Three coats of Tile Doctor Ultra Seal were applied to complete the job, and the floor was ready for foot traffic two hours later. I’m not sure the photographs do the floor justice but hopefully you can see that it has become much cleaner, lighter and the process has revealed so much more character in the stone. Additionally with the stone being smoother than before along with the new sealer it will be much easier to keep clean going forward.
 |
 |
The sealer ensures dirt remains on the surface where it is easily cleaned away. It’s important therefore to use a maintenance cleaning product that won’t damage it. With this in mind I left a complimentary bottle of Tile Doctor’s Neutral pH Cleaner with the owner.

Professional Restoration of a York Sandstone Floor in North Kent
Old York Stone Floor Resurfaced and Restored in Sevenoaks Weald Read More »


